Make your first video (in 5 minutes, for free)
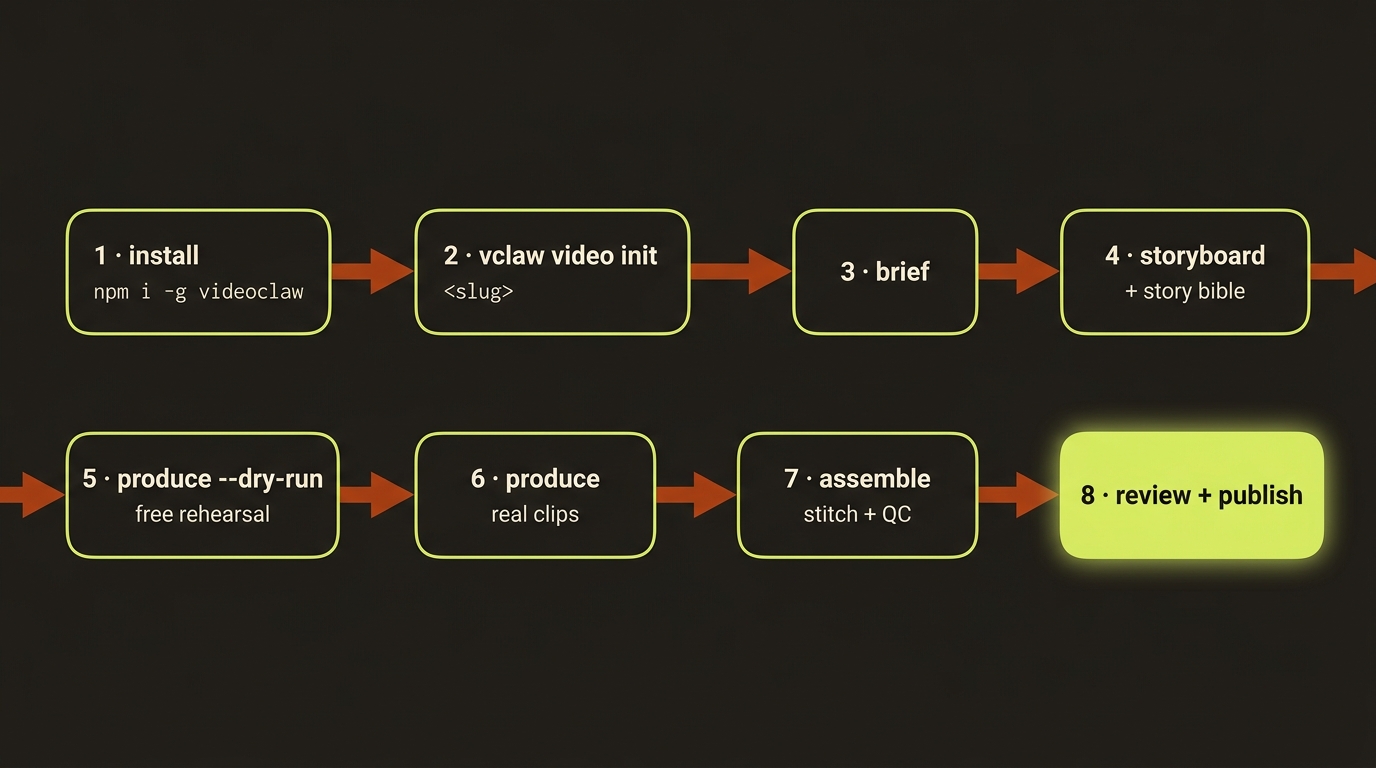
Diagram source (live Mermaid)
Brand new to videoclaw? Start here. In the next five minutes you'll run the whole pipeline end-to-end — idea, brief, storyboard, plan, and a rehearsal of the real render — without spending a single credit. Nothing here calls a paid AI service. It's a safe sandbox so you can see exactly how the tool thinks before you point it at a real provider.
Why bother with a dry run first? Because a real video render costs real money, and the worst time to discover a typo is after you've paid for it. A dry run does all the planning and shows you the exact request that would be sent — then stops. You get all the confidence and none of the bill.
The one rule that keeps this free
Every command in this walkthrough is harmless except the render step, and we run that with --dry-run. As long as you keep --dry-run on, videoclaw never contacts a paid provider and never spends a credit. Take that flag off later, when you're ready and a provider is connected.
Before you start
You need videoclaw installed. If you haven't done that yet, do the install page first, then come back. It takes two minutes.
Which command form should I type?
This guide uses the source-checkout form node dist/cli/vclaw.js video ... because it works for everyone who cloned the repo.
If you installed the published package instead, you have a shortcut: just type vclaw video .... So node dist/cli/vclaw.js video init demo becomes simply vclaw video init demo. We'll only mention this once — everything below works the same either way.
The five steps
We'll build a throwaway project called demo: a 15-second product teaser. Run these one at a time, top to bottom, and read the note under each so you know what just happened.
Step 1 — Create the project
node dist/cli/vclaw.js video init demoCreates a fresh project folder at projects/demo/. That folder is the home for everything about this video — the brief, the scenes, the history. You'll see a small JSON confirmation naming the project and its starting state. Nothing is generated yet; you've just opened an empty workspace.
Step 2 — Write the brief
node dist/cli/vclaw.js video brief --project demo --title "Demo" --intent "A 15s product tease"Turns your one-line idea into a short written brief and saves it as artifacts/brief.json. The --title is the project's name and --intent is your plain-English description of what you want. You'll see JSON describing the brief it wrote. This is the foundation every later step builds on.
Step 3 — Lay out the scenes (storyboard)
node dist/cli/vclaw.js video storyboard --project demo --scene "open on product" --scene "close on logo"Breaks the brief into shots. Each --scene is one moment in your video — here, two of them. This saves artifacts/storyboard.json and, automatically, a story-bible.json (a continuity reference that keeps characters, settings, and props consistent across scenes). You'll see JSON listing your scenes. Want to understand the story bible? See the how it works page.
Add as many scenes as you like
Just keep adding --scene "...". Each one becomes a shot, in the order you list them.
Step 4 — Plan the render
node dist/cli/vclaw.js video plan --project demoPicks the AI provider route and prepares the exact request that would be sent to generate the clips. It saves this as artifacts/execution-plan.json. You'll see JSON describing the chosen route and the planned payload. Still no credits spent — this is preparation, not production. (plan is the friendly alias for execution-plan; both do the same thing.)
Step 5 — Rehearse the real render (free)
node dist/cli/vclaw.js video produce --project demo --dry-runThis is the big one — and the --dry-run keeps it free. It walks through everything the real render would do and shows you the request it would submit to a provider, then stops before spending anything. You'll see JSON describing the dry-run result. (produce is the friendly alias for execute.)
Keep --dry-run on for now
Without --dry-run, this command tries to submit to a real provider. That only works once you've connected one — and it costs credits. For this walkthrough, leave --dry-run exactly where it is.
See where things stand
node dist/cli/vclaw.js video status --project demoPrints a status report for the demo project: which stage it's at, what's been completed, and the safest next thing to do. You'll see JSON summarizing the project's state. Run this any time you lose track of where a project is.
You just ran the whole pipeline
That's it — you took an idea all the way from init to a full render rehearsal, and it cost nothing. Everything you did is saved on disk under projects/demo/, in plain JSON files you can open and read. Nothing is hidden.
Clean up (optional)
This was a throwaway. To remove it, just delete the folder: rm -rf projects/demo. No other cleanup needed.
What next?
- Understand what just happened → read how it works. It explains the project folder, the artifacts, and why each step exists. Start here — it makes everything else click.
- Make a real video → you'll connect a provider (Veo, Seedance, Runway, or Dreamina) and drop the
--dry-run. That's the only difference between this rehearsal and the real thing. - Want a human approval gate before any money is spent? → read modes and try director mode.
- Reusing the same character across scenes? → see characters.
- Stitching clips, narration, and music into one MP4? → see assemble.
- Something didn't work? → the troubleshooting page and the cheat sheet have you covered.
Quick recap
init → brief → storyboard → plan → produce --dry-run → status. Six commands, one safe sandbox, zero credits. When you're ready for the real thing, connect a provider and the same six commands make an actual video.